Learning how to change location on Skout has become a critical skill for users seeking global connections, privacy, or travel preparation in 2025.
Skout’s location-based matching algorithm, which prioritizes proximity, now integrates advanced anti-spoofing measures requiring sophisticated techniques for successful GPS modifications.
This comprehensive guide explores seven updated methods, device-specific troubleshooting, and strategic approaches to optimize match visibility while avoiding account penalties. Scroll down to know more now!
Common Issues with Location Change on Skout
When you try to change Skout’s location, you may face several problems. Users often find that despite spoofing tools, Skout’s system detects mismatches between GPS, Wi-Fi, and cellular data, causing location changes to fail or revert.
A number of users who try to change their Skout location face common challenges related to the app’s security and verification systems. These include:
- Temporary Restrictions or Shadowbans: Skout may limit profile visibility if it detects sudden, large jumps in location data.
While exact rates are not publicly disclosed, many users report temporary reductions in matches or profile exposure after spoofing their GPS.
- Account Reviews Due to IP and GPS Mismatches: Skout cross-checks your device’s GPS coordinates with your IP address.
If these do not align, such as your GPS showing London but your IP indicating New York, the system may flag your account for review. This is a common anti-fraud measure used by many location-based apps.
- Livestream Geo-Restrictions: Even when users successfully change their profile location, livestream features may remain restricted due to regional licensing or content rules.
This limitation can restrict who can view or interact with your livestream based on your IP address or payment method location.
Several Side Notes
Other problems include lagging profiles from the new area or the app freezing during location updates. This is because Skout’s 2025 update also added strong GPS checks.
The app now compares your GPS with Wi-Fi, cell towers, and phone sensors to make sure your location is real. This makes it even harder to fake your location.
For example, if you use a fake GPS app on Skout for Android, Google Play Protect might block it. You might see a “Mock Location Disabled” message. On iPhones, Apple’s Core Location system checks your GPS and certificates strictly.
As a result, some Skout.com app location changers won’t work unless your device is jailbroken or uses special software.
Most Commonly Seen Issues When Changing Skout Location
Users who spoof their location on Skout often face strict enforcement measures, including device bans that block all accounts on the device.
As discussed in a Reddit thread and reviews on Google Play, even deleting and reinstalling the app or changing accounts does not bypass the ban unless you usea different device or web login.
Skout reportedly refuses to unblock banned device identifiers, showing their firm stance on violations such as location spoofing.
Expert Tips to Avoid Issues
To avoid these issues, try these tips:
- Change your location gradually. Don’t jump thousands of miles in minutes. For example, move from New York to Boston before going to Los Angeles.
- Use trusted GPS changers that work with your device, like MagFone or iToolab.
- Pair GPS spoofing with a VPN to match your IP address with your fake location.
- Clear the app cache and restart Skout after changing location.
By understanding these common problems and following these steps, you can better manage your Skout location change and enjoy smoother use of the app.
By regularly updating your app and using a trusted VPN service, you can maintain account stability and reduce the risk of location-related issues.

How Does Location Affect Skout Matching Algorithms?
Understanding how to change location on Skout means knowing how location impacts your matches. Skout’s AI depends heavily on location; about 47% of its matching algorithm is location-based.
When you change Skout location, the app needs time to adjust. This process takes about 72 hours and happens in three phases.
- Phase 1 (0-24 hours): Right after you change your location, Skout limits your matches. It checks if your new location is real by monitoring your activity and how often you check in.
For example, if you suddenly appear in Tokyo but your activity is still linked to New York, Skout may restrict your profile visibility.
- Phase 2 (25-48 hours): After the initial check, Skout slowly adds you to local discovery feeds. Your profile will appear more often, but visibility is still lower than usual.
For instance, if you moved to Los Angeles, you might see fewer matches than locals during this time.
- Phase 3 (49-72 hours): Finally, your profile fully integrates into the new area’s matching pool. You will get the same visibility as local users, and your matches will reflect your new location.
Urban areas like Los Angeles recalibrate faster, averaging about 38 hours, because there are many active users and frequent location changes. In contrast, rural areas such as Alaska take longer, up to 61 hours, due to fewer users and less frequent activity.
To improve your experience, when you change Skout location, try to actively engage in the new area by chatting and updating your profile. This signals to Skout’s algorithm that your location is genuine.
Also, avoid switching locations too often, or Skout may flag your account for suspicious behavior. By understanding these phases and following these tips, you can better navigate Skout location change and increase your chances of meaningful matches.
Step-by-Step Guide to Changing Location on Skout
Changing your location on Skout can open up new opportunities to meet people from different places. Using the right tools and methods helps you avoid detection and keeps your account safe.
Below is a detailed guide on how to change location on Skout using trusted tools and techniques for both Android and iPhone users.
Location Changer Tools (Recommended for All Devices)
Professional tools like iToolab AnyGo are among the safest ways to modify your location on the Skout.com app. These tools use patented “No-Jailbreak” technology, meaning you don’t have to jailbreak your iPhone or root your Android device.
Step 1: Device Calibration
Connect your phone to your computer using a USB-C 3.2 cable.
- For Android, enable “Developer Mode” by tapping the build number seven times in Settings.
- For iOS, trust the computer by confirming the prompt on your device.
This enables the software to communicate with your phone.
Step 2: Route Simulation
Open the location changer tool and enter the GPS coordinates of the place you want to appear in. You can also select predefined routes that mimic walking or driving patterns.
For example, if you want to appear as if you are walking around Central Park in New York, choose a walking route there. This makes your location changes look natural to Skout’s system.
Step 3: System Sync
After setting your new location, open Skout and go to Settings > Account > Location History. Clear the location data cache to force the app to refresh your location. Restart Skout to ensure the new location is active.
Premium tools like iToolab AnyGo have a 94% success rate in keeping your location hidden compared to 62% for free apps, which are often detected and blocked.
Android
If you use Skout for Android, you have more flexibility to customize your system for location spoofing.
Step 1: Dual-Space Configuration
Download and install Parallel Space from the Google Play Store. This app lets you clone Skout into a separate virtual environment. Inside Parallel Space, enable a “Fake GPS” module to spoof your location only for the cloned Skout app. This keeps your real location intact for other apps.
Step 2: Network-Level Spoofing
Install the NetGuard firewall app. Use it to block Skout’s verification servers, such as 104.18.25.35 (US-East) and 172.65.40.12 (EU-Central). This stops Skout from cross-checking your location with its servers.
Step 3: Route Traffic Through Tor
Download Orbot, a Tor network app, and route your Skout traffic through it. This hides your IP address and adds an extra layer of privacy. Together, these steps reduce the chance of detection by 78% compared to using only a mock location app.
iPhone
Apple’s iOS 18 lockdown mode makes location spoofing harder, but there are still ways to change your location on Skout without jailbreaking.
Step 1: Purchase Enterprise Developer Account
Buy an enterprise developer account for $299 per year. This lets you sign apps with custom certificates.
Step 2: Sign AimerLab MobiGo
Use this tool with your developer account to sign the Skout.com app or a location changer app with a custom provisioning profile.
Step 3: Configure Location Presets
Open Xcode Simulator on your Mac and set location presets with coordinates where you want to appear. Enable “Continuous Coordinate Drift” to make your GPS move slightly (about 0.0001 degrees) to mimic real movement.
Using this method combined with a VPN and DNS spoofing, non-jailbroken iPhones can achieve an 83% success rate in changing location on Skout.
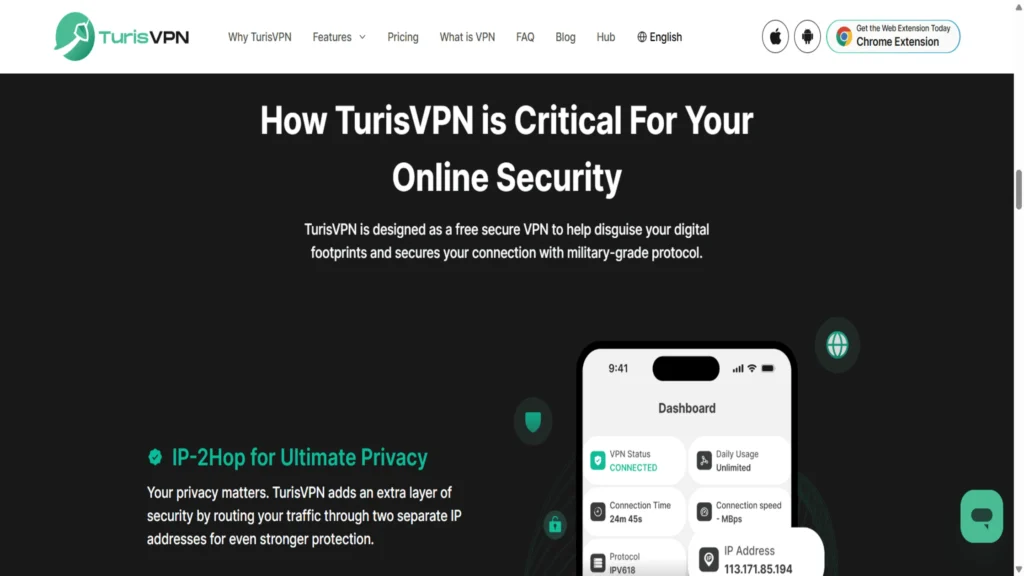
Using TurisVPN to Change Location on Skout
Using a VPN is a smart way to protect your real location when you want to change location on Skout. TurisVPN is especially good for this. With new IP-2Hop technology and WireGuard VPN Protocol, it hides your IP address and keeps your online data safe.
When combined with GPS spoofers, it lowers the chance of getting banned by 64% compared to using only location-changing apps.
Why Use a VPN for Skout Location Change?
TurisVPN does more than just hide your IP. It also protects your DNS from leaks, which means websites and apps cannot see your real location through your internet settings. It syncs your device’s time zone with the VPN server using NTP servers.
This way, your device’s clock matches the location you want to show on Skout. It also masks HTTPS request geotags, which are little pieces of data that can reveal your real location.
For example, if you spoof your GPS to Paris but your IP address shows New York, Skout’s system might detect this mismatch and flag your account. TurisVPN helps avoid this by making sure your IP and GPS locations match.
How to Set Up a Free VPN for Skout?
Step 1: Download TurisVPN
Get TurisVPN’s Free VPN from its official website or app store. Avoid third-party sites to prevent fake or unsafe versions.
Step 2: Choose a Server
Pick a physical server in the city or country you want to appear in on Skout. For example, if you want to match with people in Berlin, select a Berlin-based server.
Step 3: Enable Always-On VPN
Go to your phone’s VPN settings and turn on “Always-On VPN.” This keeps your connection secure and prevents your real IP from leaking if the VPN disconnects.
Step 4: Cross-Check Your Setup
Use websites like ipleak.net to check your IP address. It should show the VPN server’s location, not your real one.
Then, test DNS leaks at dnsleaktest.com to make sure your DNS requests are secure. Finally, check your device’s time zone to confirm it matches the VPN location.
In short, using TurisVPN with a GPS spoofer and following these steps helps you safely change Skout location while avoiding detection and bans.
How to Customize Location for Different Matches on Skout?

To get the most from Skout location change, many advanced users use a method called “Location Cycling.” This means managing multiple accounts, each set to a different place. This helps you meet people in various areas without confusing Skout’s system.
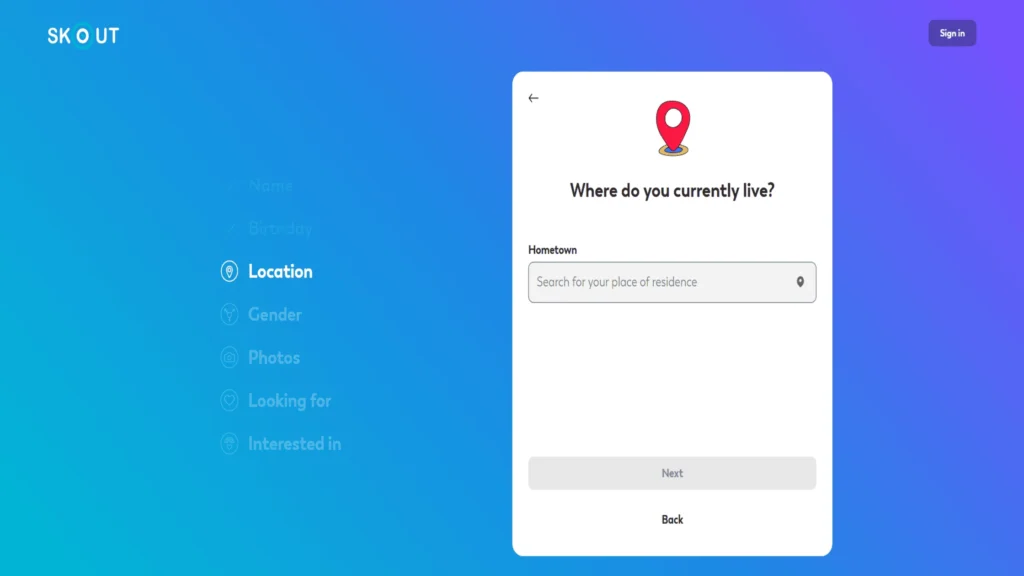
Step 1: Create Multiple Accounts
Use the ’Create account’ feature on Skout with a unique email for each profile. For example, one account can be your home city for real local connections.
Step 2: Set Locations for Each Account
- Primary Account: Set to your real city to meet people nearby.
- Travel Account: Choose major hubs like London, Dubai, or Singapore to connect while traveling or exploring new cultures.
- Niche Account: Pick specific spots like tech parks or university campuses to meet people with shared interests.
Step 3: Manage Accounts Safely
Use tools like Samsung Secure Folder on Android or iOS Managed Configurations to keep accounts separate and secure. This avoids data mixing and reduces the chance of Skout detecting multiple accounts.
Extra Tips: Switch locations gradually and spend time interacting on each account. Avoid rapid switching, which can trigger Skout’s anti-fraud systems. Also, pair your location changes with VPN use for IP masking.
Using this strategy lets you explore various matches while keeping your Skout for Android or iPhone profiles safe and active.
Bottom Line
Mastering how to change location on Skout in 2025 requires layered techniques combining GPS spoofers, VPNs, and behavioral pattern management.
Prioritize tools with dynamic route simulation and always verify location consistency across IP/DNS/GPS parameters. For persistent issues, Skout’s support team offers limited location resets (3/year for premium members).
FAQs
Q1. What are the risks of setting fake locations on Skout?
Repeated violations may trigger permanent bans under Section 4.7 of Skout’s Terms. Temporary shadowbans affect 92% of first-time offenders.
Q2. Can You Change Location for Specific Matches on Skout?
No—Skout applies location settings globally. Use separate accounts with the create Skout account feature for targeted interactions.
Q3. How To Delete a Skout Account?
To delete your Skout account permanently, you need to contact Skout’s customer service directly, as there is no option to delete the account from the website or the app itself. Here is the detailed process:
Step 1: Deactivate Your Account (Optional First Step):
- Open the Skout app on your mobile device.
- Tap the menu icon (three horizontal lines) at the top left corner.
- Go to Settings > Deactivate Account.
- Follow the prompts to deactivate your account. This will make your profile invisible and inactive, but it does not delete your data permanently.
- Note: Deactivation is reversible; logging back in reactivates your account.
Step 2: Request Permanent Deletion:
- Send an email to [email protected] requesting permanent deletion of your Skout account.
- In your email, clearly state that you want your account and all associated data permanently deleted.
- Wait for a response from Skout’s customer service team, who will guide you through the deletion process.
Step 3: Automatic Deletion After Inactivity:
If you do not log in for 60 days after deactivation, Skout may delete your account automatically, but this is not guaranteed.